Diesel Tech Install logo
@f350soup typography and instagram logo
BY CLYDE TURNER
Diesel Tech Install logo
BY CLYDE TURNER
@f350soup typography and instagram logo
The F350 Soup Build
Lift kit, wheel and tire install on our 6.7L Power Stroke
Diesel Tech Install logo
BY CLYDE TURNER
@f350soup typography and instagram logo
ford truck
The F350 Soup Build
Lift kit, wheel and tire install on our 6.7L Power Stroke
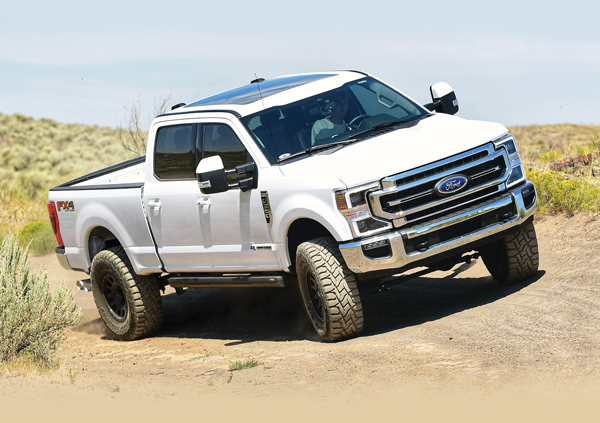
Diesel Tech is kicking off a new project build on our 2020 6.7L Power Stroke Ford F350 crew cab; we’re calling it the F350 Soup Build (look it up on Instagram, @f350soup). To get it started, we’ve covered three of the most important upgrades made on it so far to give the panda-like beast a bigger and more aggressive stance with slightly better off-roading ability: a ReadyLIFT 2.5-inch coil spring front lift kit with Bilstein shocks, Fuel Vector 18.9 matte black wheels, and Toyo Open Country R/T 37×13.50R18 tires.

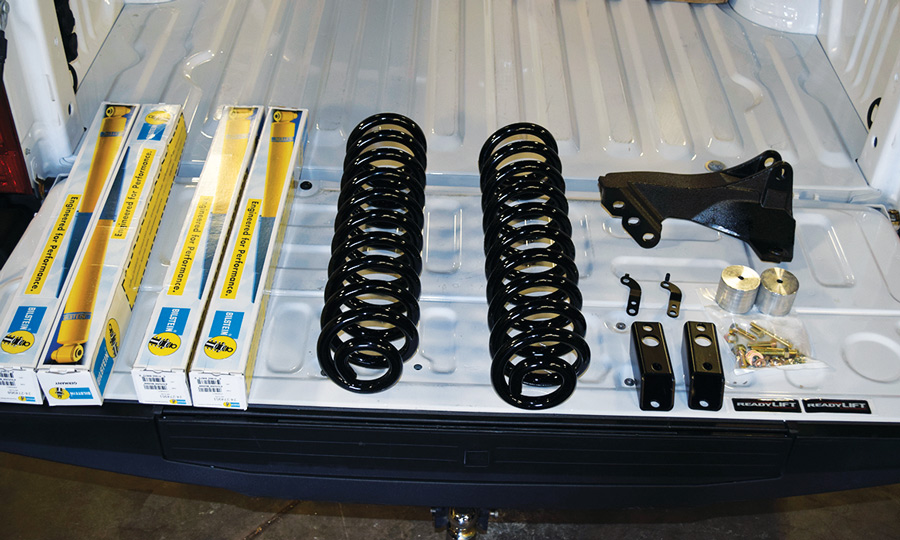
The quality ReadyLIFT kit integrates more than a simple lift or front leveling. It was created to meet the demand for a kit that leveled out the front end without sacrificing ride quality. Since the kit uses replacement coil springs as opposed to a spacer puck, the truck’s ride isn’t affected in any negative way. The installation of the lift kit was completed at PowerTech Diesel in Idaho Falls, Idaho, by technician Travis Prouse along with some help from techs Tyler Olsen and Jordan Johnson. The wheels and tires were sent off to another shop to be mounted and balanced before being installed on the truck.
car parts laid out
Step 1: Unpack & Get Ready
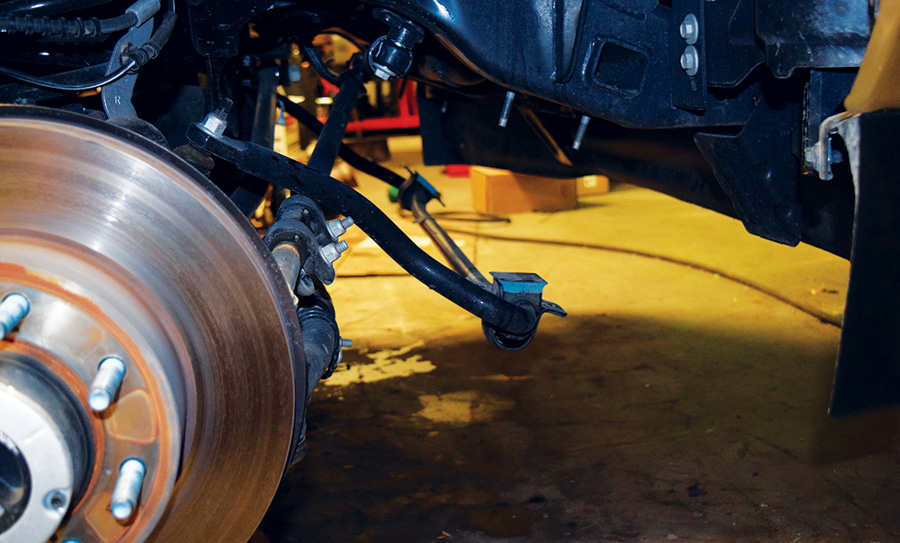
After unpacking the components and making sure they were all there (which they were), Travis lifted the truck up and put the front axle on jack stands. After lowering the lift and resting the front axle on the stands, he took off the front wheels and removed the brake line mounting bolts along with their brackets.
car shock
close up of car wheel well
Step 2: Remove Shocks & Replace Springs
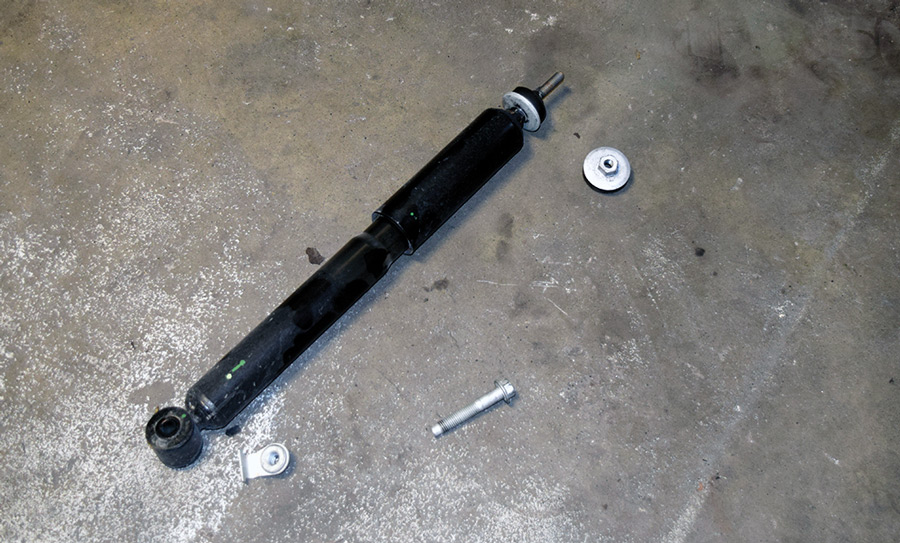
Next, Travis began disassembling the passenger side shock by removing the bolt on the top. “You have to pry the rubber up to get the wrench in there,” he says. “Sometimes you need to use the lift to adjust as needed, which I ended up doing.”

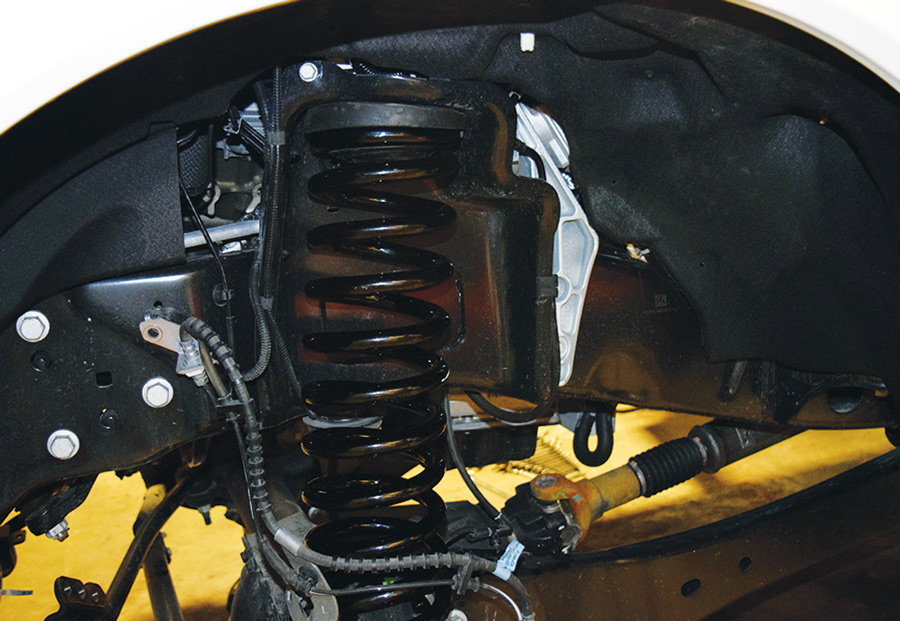
After playing with the lift a little, he was able to pull the shock out. He repeated the same process for the driver side. After that, he went on to unbolting the front sway bar brackets from the frame so he could get the sway bar out of the way in order to remove the springs. He subsequently removed the springs upon raising the truck, and then he put in the new springs with the existing rubber buffers from the old ones.
car brackets
car brackets
Step 3: Replace Track Bar Mounting Brackets
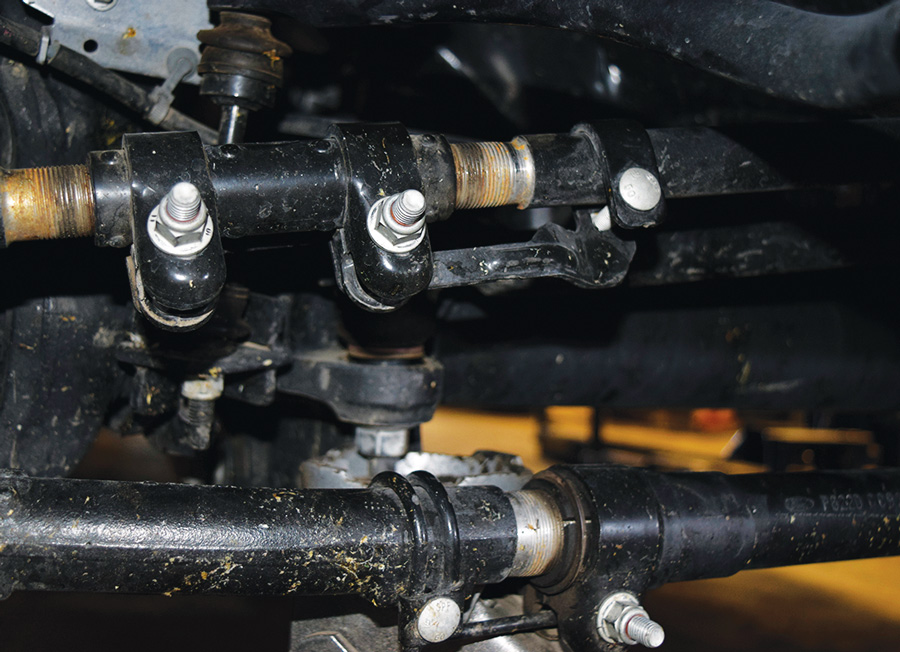
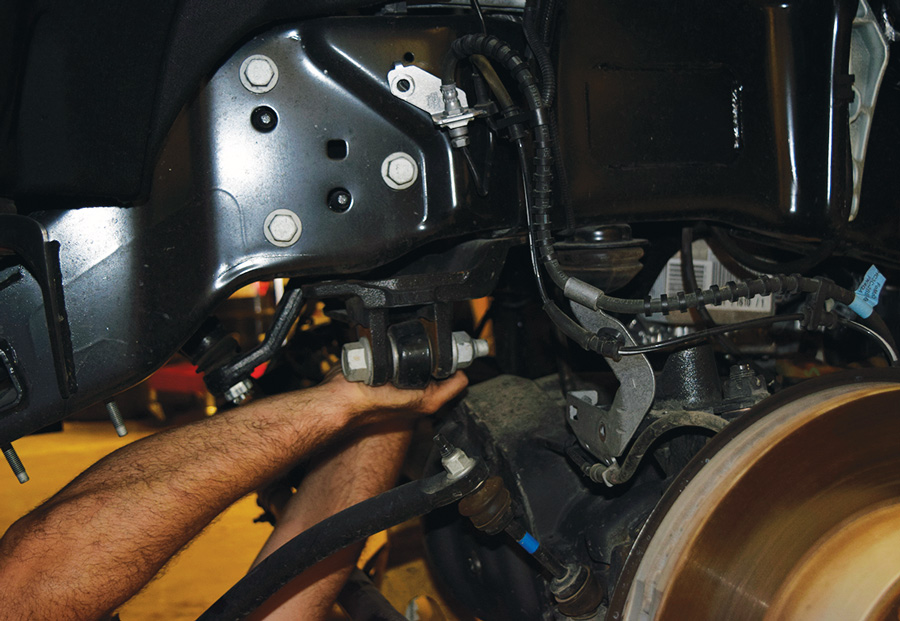
With the springs partially in place, Travis began the process of replacing the old track bar mounting brackets with the new ones that bring the taller ride height. He loosened the large bolts on the front driver side bracket and then removed it along with the track bar. This allowed for the time to establish the position of the new springs, which Travis did. He repeated the same process for the passenger side. It took a while, but it was successful with no damage. Travis then hammered the track bar into the bracket and inserted the bolt. Because of the different shape of the bracket from the factory one, the bolt was snugger this time. The bolts were all in place at this point so it was now time to torque them to specification.
Step 4: Compensate For Height Difference
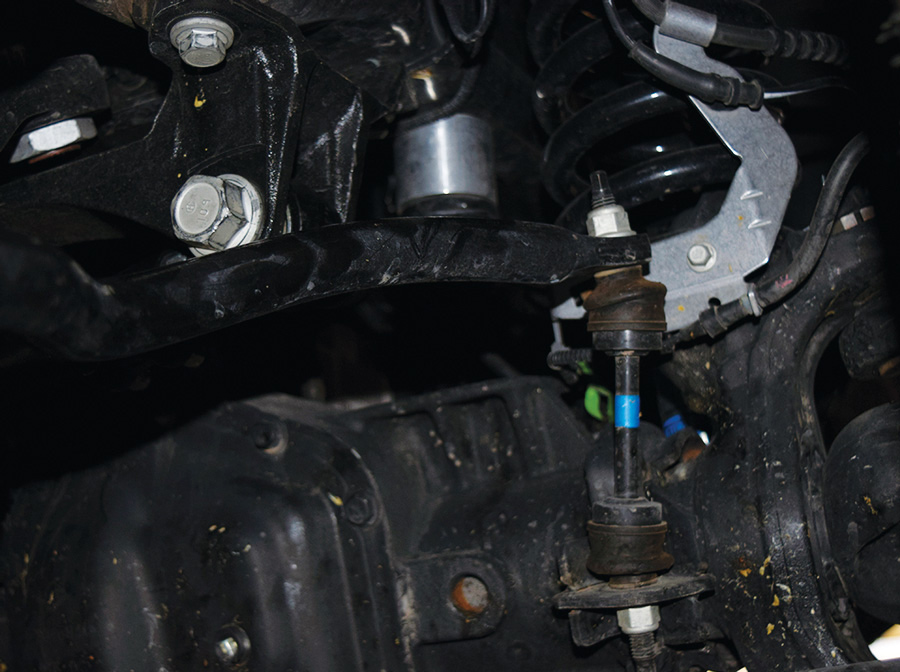
Travis installed the drop brackets for the sway bar, which compensate for the height difference. With them in place, he bolted the passenger side of the sway bar onto the bracket. After adjusting the position with the lift, he tightened the bolts. The lift on the front end was now mostly complete, so Travis reinstalled the lower brake line bracket on the passenger side. However, he also needed to install a drop bracket in place of the old upper brake line bracket and bolt it onto the frame.
installing car parts
Step 4: Compensate For Height Difference
Travis installed the drop brackets for the sway bar, which compensate for the height difference. With them in place, he bolted the passenger side of the sway bar onto the bracket. After adjusting the position with the lift, he tightened the bolts. The lift on the front end was now mostly complete, so Travis reinstalled the lower brake line bracket on the passenger side. However, he also needed to install a drop bracket in place of the old upper brake line bracket and bolt it onto the frame.
bump stop replacements
Step 5: Replace Bump Stops
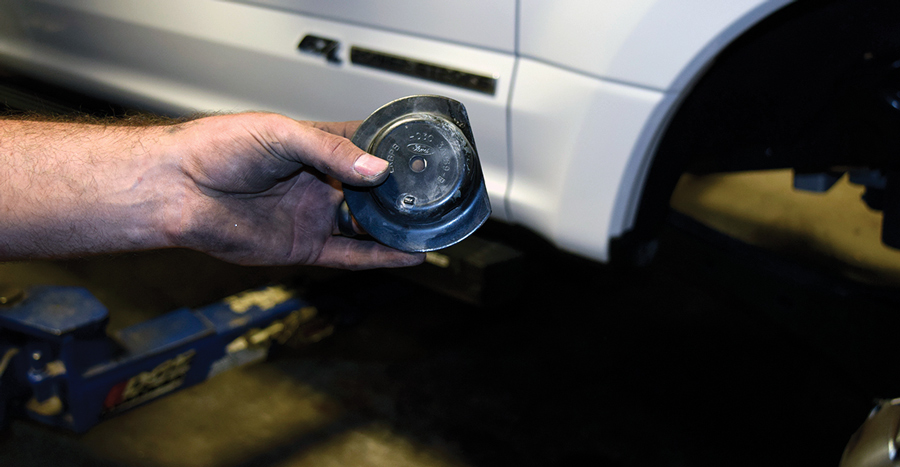
Travis removed the old bump stop on the passenger side next and put in the new one; he repeated the process for the driver side. To allow for more clearance from the springs, he had to cut away one piece of each side’s bump stop flange. He also added spray paint to make sure it doesn’t rust. With that done, he attached it to the silver bump stop cylinder (it holds in place via a keyway) and bolted it into a hole on the frame.
Step 6: Install Shocks
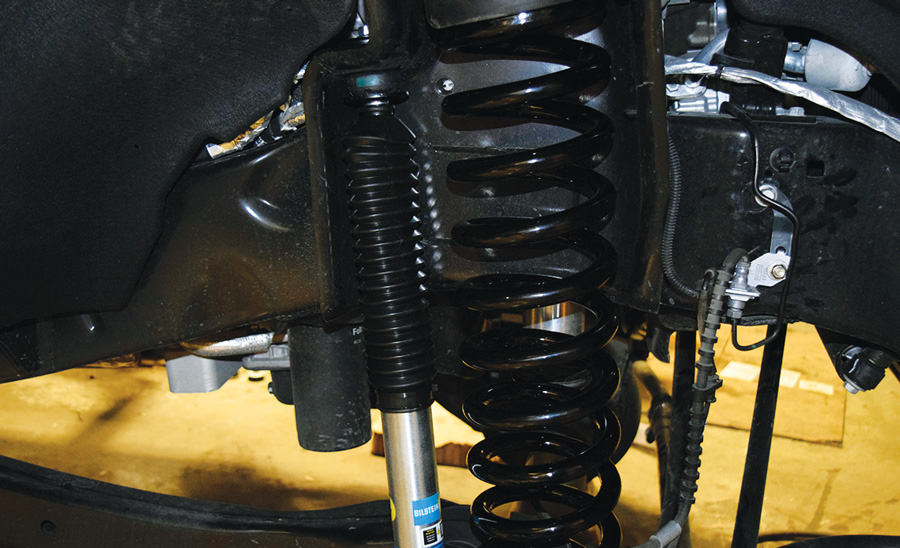
With the bump stops in place, Travis could install the Bilstein shocks. Before fastening the bottom end, he tightened the locknut on the top. He repeated the same process for the driver side. He then inserted the bolts onto the mounting points and torqued them to specification.
shock installation
shock installation
Step 6: Install Shocks
With the bump stops in place, Travis could install the Bilstein shocks. Before fastening the bottom end, he tightened the locknut on the top. He repeated the same process for the driver side. He then inserted the bolts onto the mounting points and torqued them to specification.
putting wheels on a truck
Step 7: Put Front End Back Together
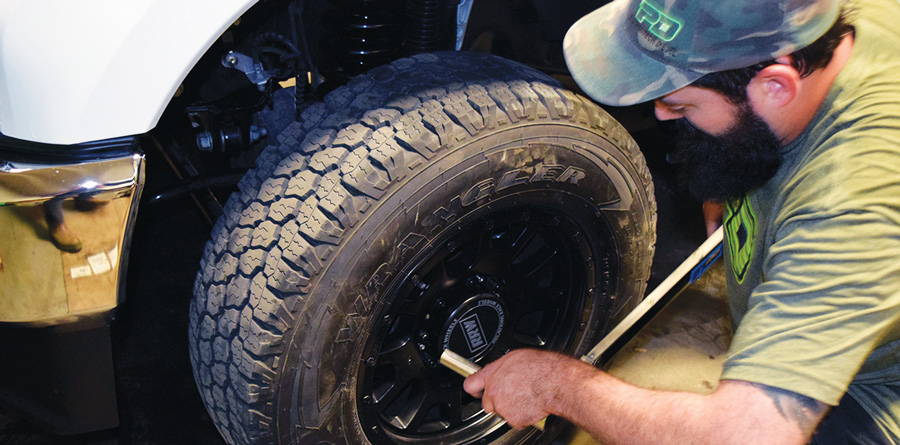
It was now time to put the wheels back on and tighten the lug nuts, which Travis did without delay. He then removed the jack stands and lowered the truck to the ground. With that done, he torqued all the loose bolts to specification. He also tightened the nuts on the shocks by holding down the shock stems with an Allen key and using a wrench on the nuts. With that done, he torqued the lug nuts on the wheels to their specification. To get everything properly positioned on the front end, Travis started up the truck and turned the steering wheel lock to lock multiple times.
Step 8: Rear End
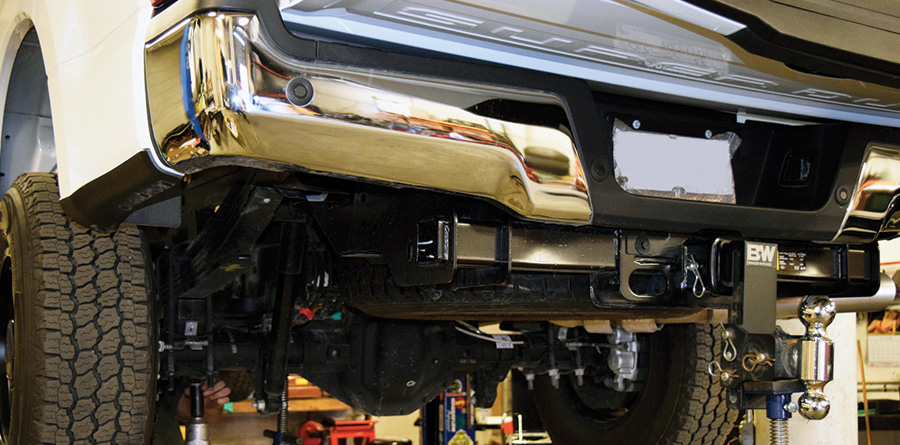
Tyler came out and measured the rear end ride height; it turned out to be three-quarters of an inch off, so he and Travis began the process of installing lifting blocks to offset the difference (yes, they do come with the kit). They put the truck on the lift as high as it could go and put jack stands on the rear axle. While doing that, Travis also got the ABS wires out of the way by disconnecting them where appropriate.
truck lifted in shop
Step 8: Rear End
Tyler came out and measured the rear end ride height; it turned out to be three-quarters of an inch off, so he and Travis began the process of installing lifting blocks to offset the difference (yes, they do come with the kit). They put the truck on the lift as high as it could go and put jack stands on the rear axle. While doing that, Travis also got the ABS wires out of the way by disconnecting them where appropriate.
close up of truck lifted in shop
Step 9: Replace Lifting Blocks
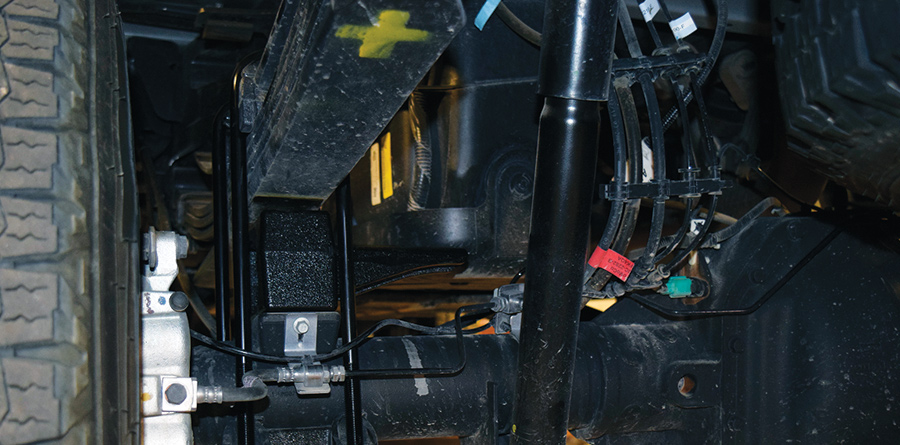
With the jack stands supporting the axle, Tyler and Travis were able to remove the u-bolts from the shim packs and lifting blocks. The technicians first removed the old block from the driver side, put in the new one and then tightened the nuts with the new longer u-bolts. The jack needed to be heightened in order to close the space between the block and the frame. Next, they moved the jack stand over to the passenger side where the same process was repeated. Jordan also stepped in to help during this process, since multiple technicians were needed to hold parts in place.
Step 10: Finish Up Rear End
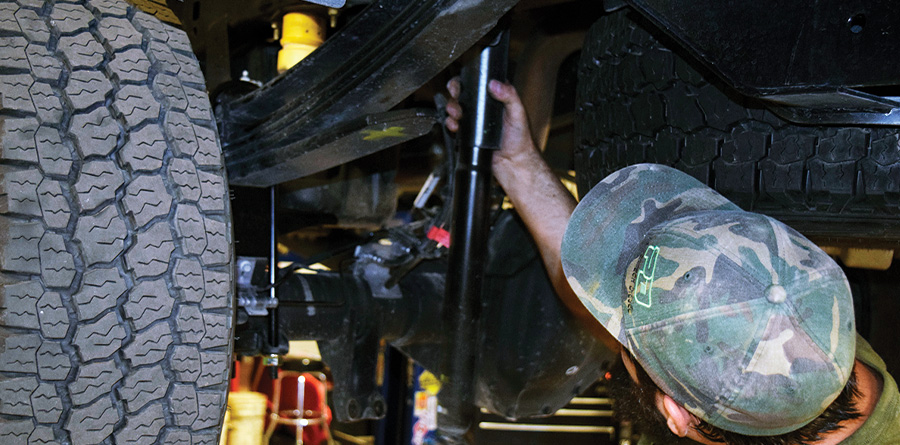
The most involved rear end work was largely complete by this time. The only major components left to be installed were the new Bilstein shocks, so Travis took the old ones off and installed the new ones by simply pushing them up and torquing the bolts to specification. He lowered the truck and torqued all bolts to specification. Tyler measured the ride height with his tape measure again and everything looked even.
installing car parts
Step 10: Finish Up Rear End
The most involved rear end work was largely complete by this time. The only major components left to be installed were the new Bilstein shocks, so Travis took the old ones off and installed the new ones by simply pushing them up and torquing the bolts to specification. He lowered the truck and torqued all bolts to specification. Tyler measured the ride height with his tape measure again and everything looked even.
working under a car
close up on under truck
track bar on the ground
close up on under truck
track bar on the ground
Step 11: Replace Track Bar
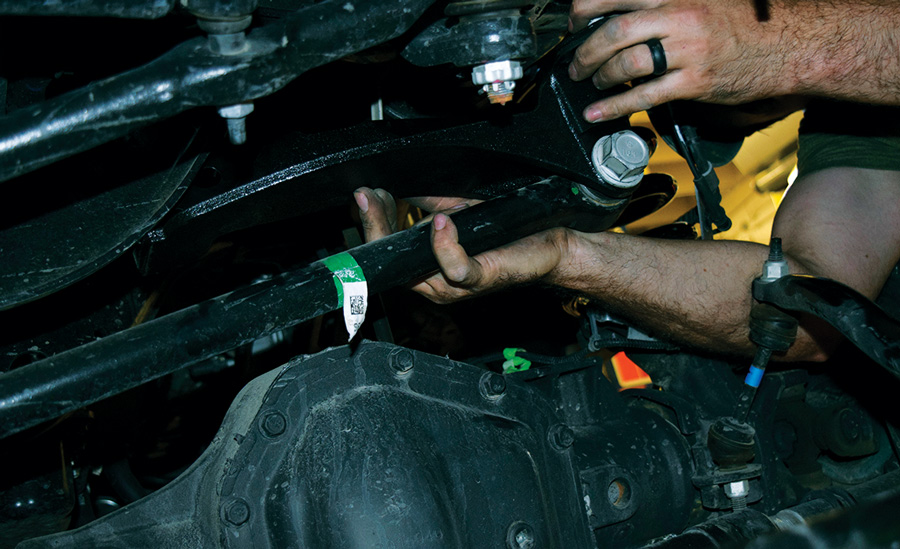
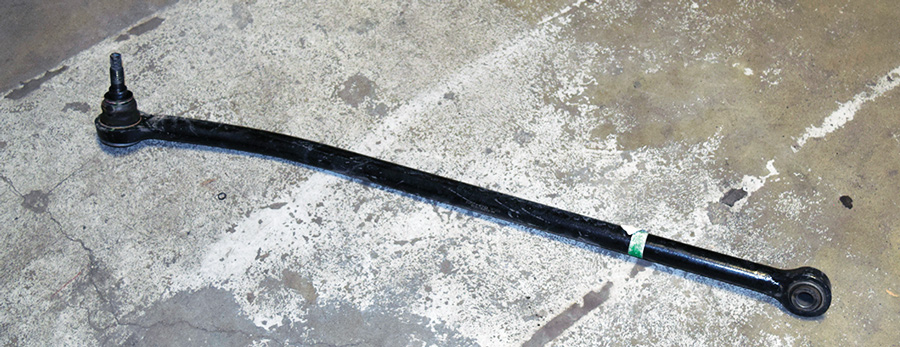
With the addition of the new suspension also came installation of a new track bar, so Travis took the old one out. He began by loosening the ball joint on the lower end of the bar; while doing that, he had to use a jack to lift it up in order to take off the retracting pressure so it would come out more easily. Next Travis removed the old track bar pivot bolt on the upper bracket and out came the old track bar.
close up of truck bumper
Step 12: Replace Front Bumper Air Valance
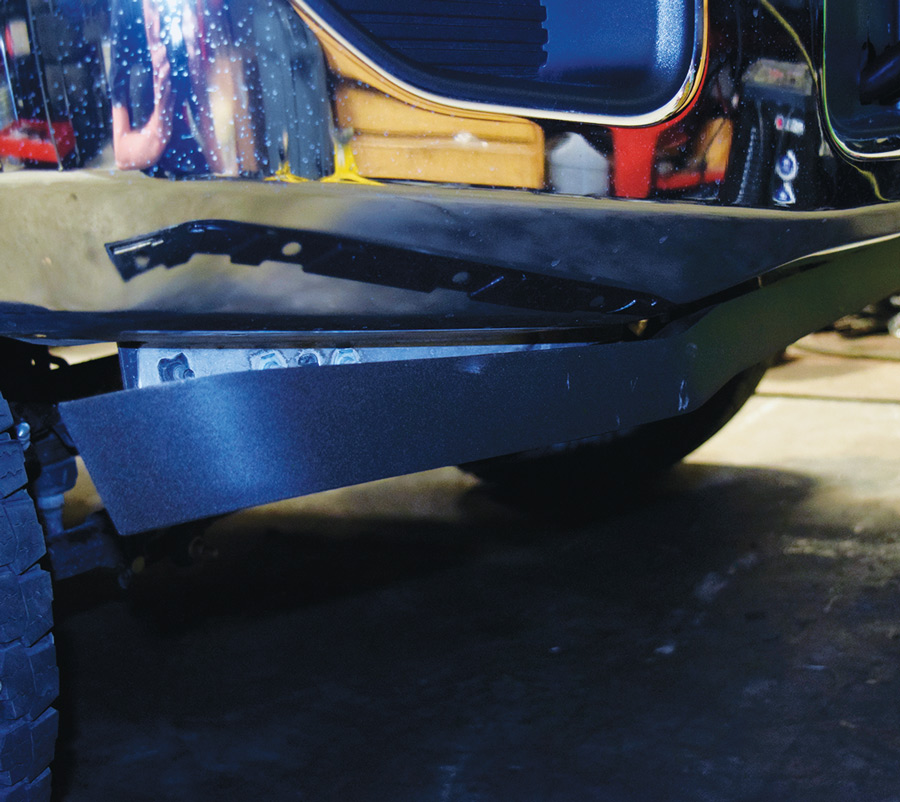
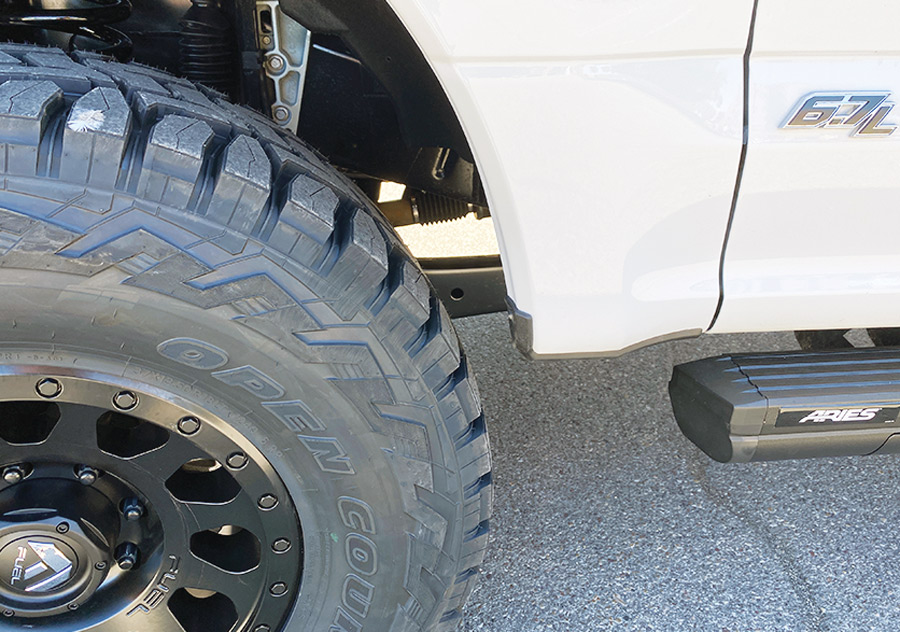
The truck needed to be ready for the larger wheels and tires, and the front end just didn’t quite have enough clearance yet, even with the lift, so Travis needed to do some minor body work. First, he removed the front bumper air valance. He replaced that part with the air valance from the Ford Super Duty Tremor trucks, which is much shorter and has more tire clearance.
Step 13: Trim Wheel Well Corners
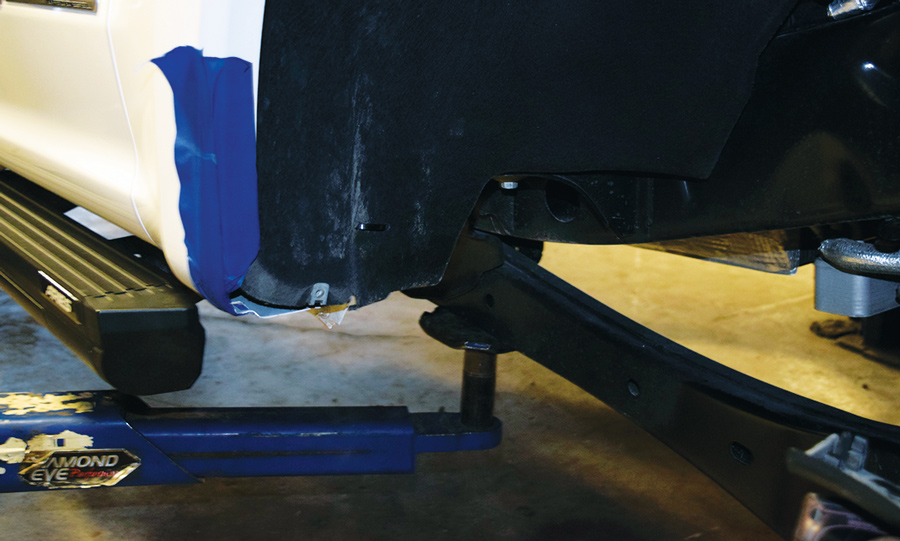
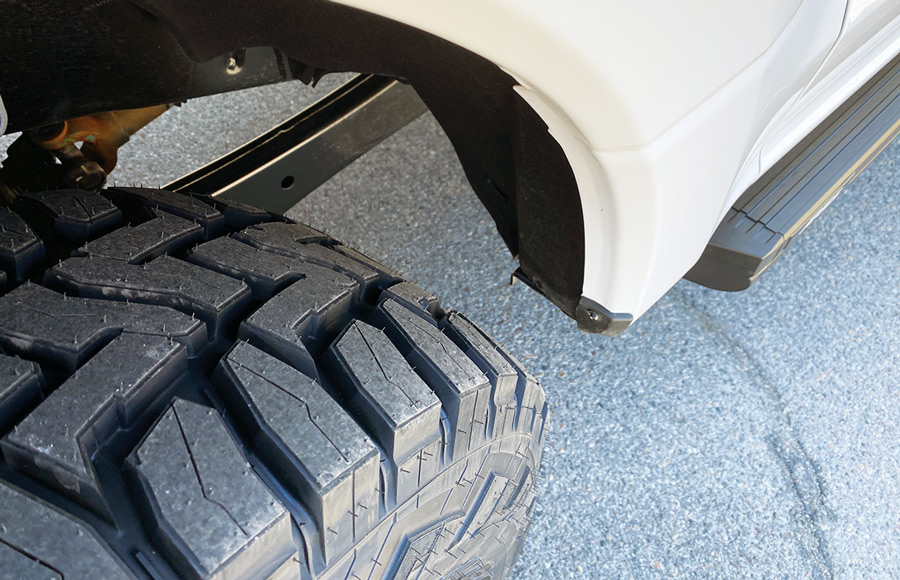
This was important in keeping the tires from rubbing. Tyler trimmed the bottom rear corners of the wheel well (behind the tires) to allow more room for the larger tires. With that, he also trimmed back the wheel well flanges (which cover the corners) to make them fit accordingly.
close up of wheel well
Step 13: Trim Wheel Well Corners
This was important in keeping the tires from rubbing. Tyler trimmed the bottom rear corners of the wheel well (behind the tires) to allow more room for the larger tires. With that, he also trimmed back the wheel well flanges (which cover the corners) to make them fit accordingly.
installing new tires
close up of new tires
two tires
installing new tires
close up of new tires
new tire
Step 14: Install New Tires & Wheels
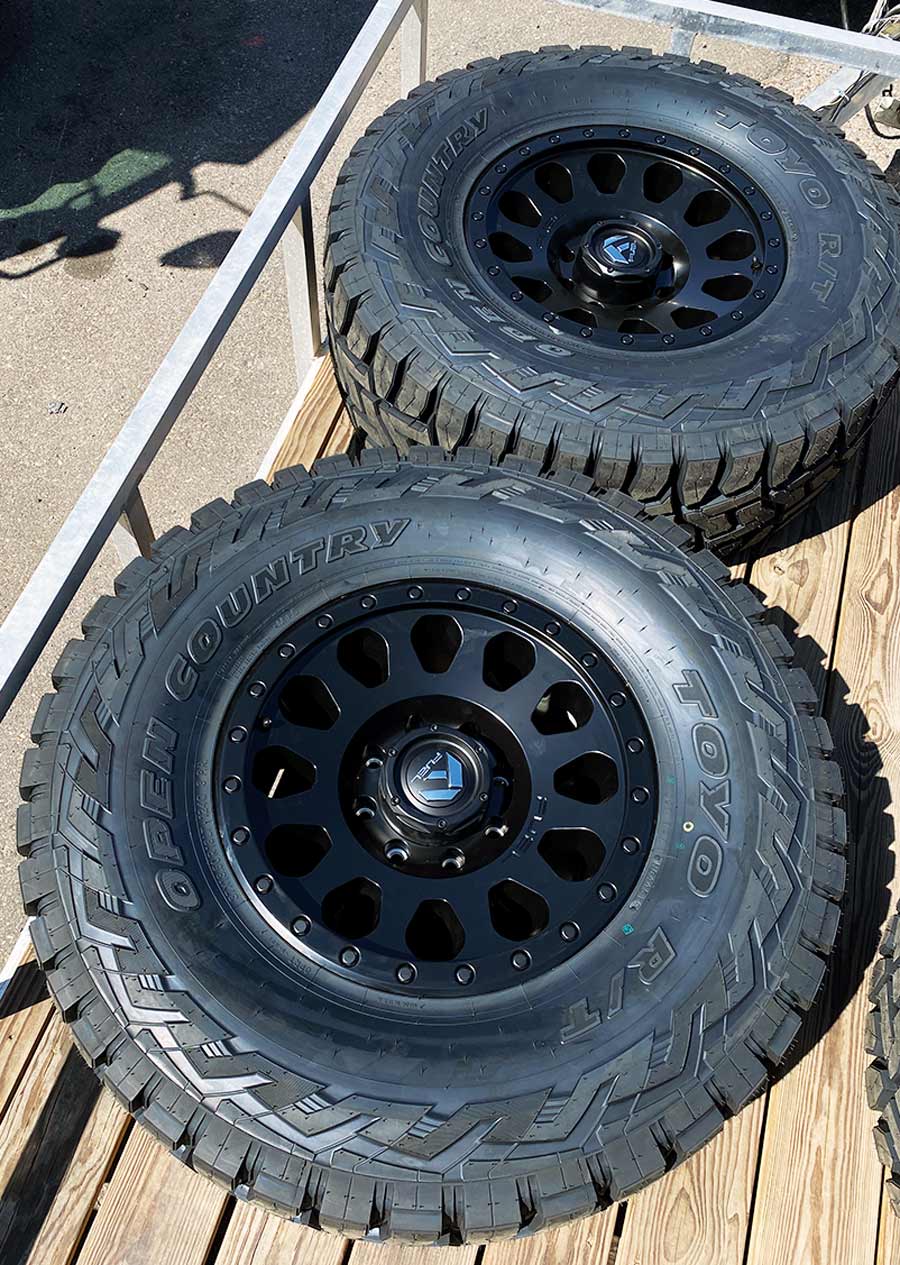
At this point, the new Fuel Vector 18×9 +1mm-offset wheels were sent off to a tire shop to be mounted and balanced with new Toyo 37 x13.50R18 Open Country R/T tires.
Sources:
Aries Automotive
877-287-8634
www.ariesautomotive.com

Bilstein
800-537-1085
www.bilstein.com

Fuel Off-Road Wheels
www.fueloffroad.com
PowerTech Diesel
208-542-7793
www.powerlabsdiesel.com

ReadyLIFT
800-549-4620
www.readylift.com

Toyo Tires
800-442-8696
www.toyotires.com